
How to Paint Walls at Home
Painting the walls of your home is one of the most effective and affordable ways to transform your living space. A fresh coat of paint not only enhances the aesthetics but also protects walls from wear and tear. Whether you’re preparing for a seasonal refresh, moving into a new home, or simply tired of staring at dull walls, learning how to paint walls at home can save you hundreds of dollars in labor costs.
In this guide, we’ll walk you through everything you need to know—from choosing paint colors to applying the final coat—so you can achieve professional-looking results without hiring a painter.
Why Paint Your Walls at Home?
Before diving into the step-by-step process, let’s look at why painting your walls yourself is a great idea:
Cost Savings – Hiring professional painters can cost hundreds or even thousands of dollars, while DIY painting only requires supplies and paint.
Customization – You have complete control over colors, finishes, and designs.
Satisfaction – There’s a sense of pride in looking at your freshly painted walls and knowing you did it yourself.
Easy Upgrade – A new paint job instantly makes a room look cleaner, brighter, and more modern.
Step 1: Gather the Right Tools and Materials
The first step in painting walls at home is preparation. Having the right supplies makes the job easier and ensures better results.
Essential Tools:
Paint rollers and roller covers
Paint brushes (angled brushes for corners and trim)
Painter’s tape (to protect baseboards and edges)
Paint tray and liners
Extension pole for high walls or ceilings
Drop cloths or old sheets to protect floors and furniture
Sandpaper or sanding block
Putty knife and wall filler (for repairing cracks or holes)
Materials:
Interior wall paint (choose the right color and finish)
Primer (if needed for dark colors or unpainted walls)
Cleaning supplies (soap, water, sponge)
Pro Tip: Investing in quality brushes and rollers will help the paint go on smoothly and evenly.
Step 2: Choose the Right Paint Color and Finish
Picking the right color is one of the most exciting parts of the process. However, it can also be overwhelming with so many choices.
How to Pick a Paint Color:
Consider the room’s purpose – Soft neutrals for bedrooms, bold accents for living rooms, and bright, cheerful colors for kitchens.
Use natural light – Test paint samples on your wall and observe how they look at different times of day.
Match décor – Choose a shade that complements your furniture and flooring.
Paint Finishes Explained:
Matte/Flat – Best for hiding imperfections but not very washable.
Eggshell – Slight sheen, durable, and good for most walls.
Satin – Easy to clean, suitable for high-traffic areas.
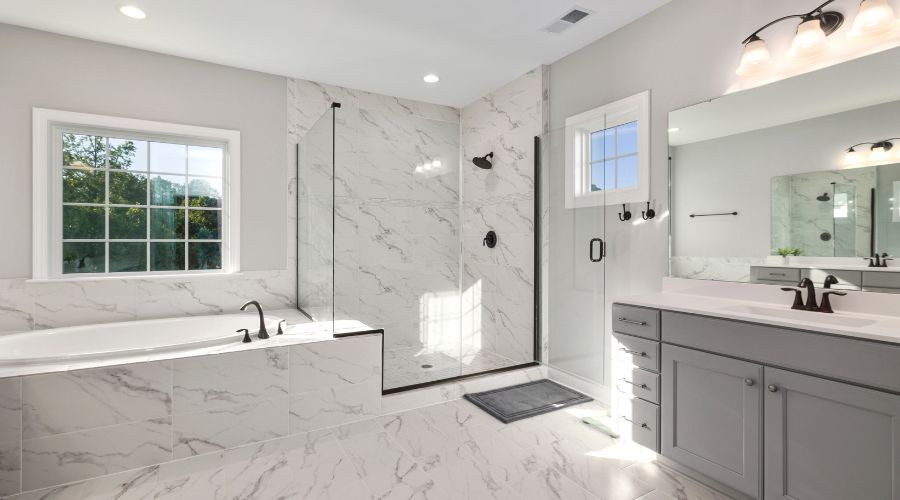
Semi-gloss/Gloss – Very durable and reflective, great for kitchens and bathrooms.
Step 3: Prepare the Walls
One of the biggest mistakes beginners make when learning how to paint walls at home is skipping preparation. Proper prep ensures a flawless finish.
Wall Preparation Steps:
Clean the walls – Remove dust, grease, and dirt using soap and water.
Repair damage – Fill holes or cracks with wall filler and smooth with sandpaper.
Sand the walls – Light sanding helps paint adhere better.
Tape edges – Apply painter’s tape to baseboards, windows, and trim.
Cover furniture and floors – Use drop cloths or plastic sheets.
Step 4: Apply Primer (If Necessary)
Not all walls need primer, but in certain cases, it’s essential:
Painting over dark or bold colors
Covering stains or water damage
Painting new drywall
Apply one coat of primer using a roller and let it dry completely before painting.
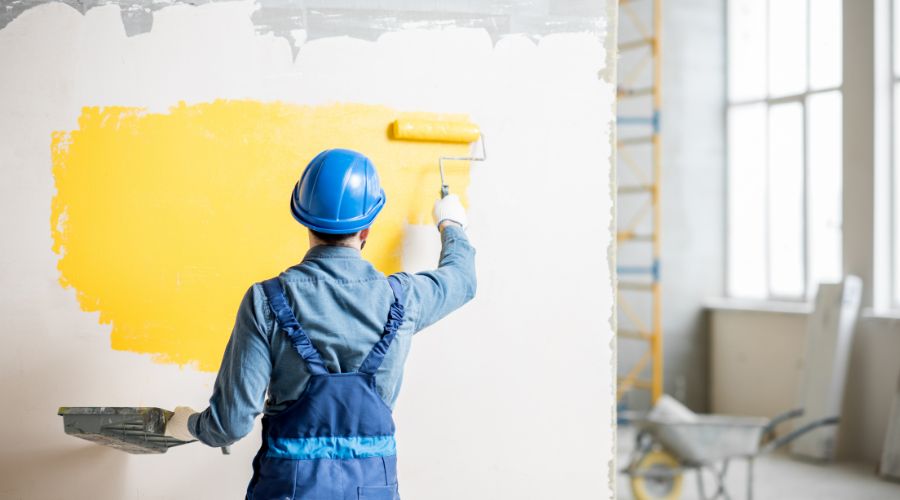
Step 5: Start Painting the Walls
Now comes the fun part—painting!
Step-by-Step Painting Process:
Cut in the edges – Use an angled brush to paint along corners, ceilings, and trim where rollers can’t reach.
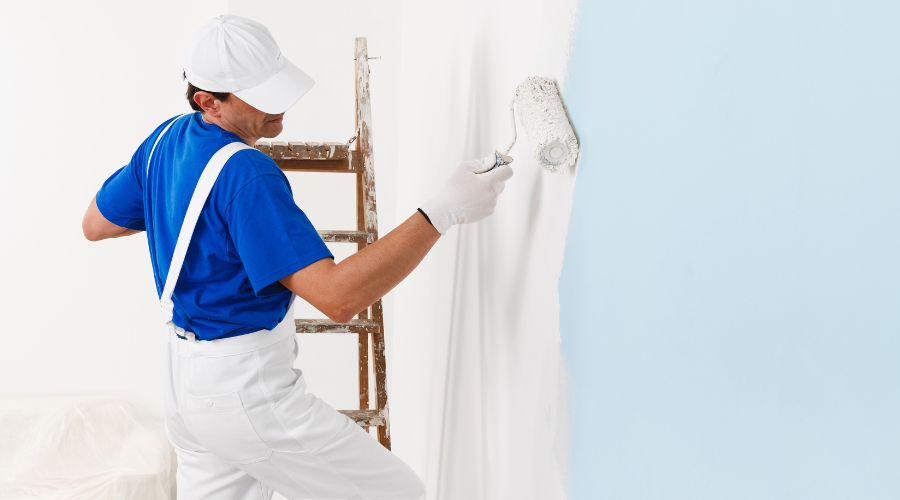
Use a roller for large areas – Dip your roller in the tray, roll off excess paint, and apply in “W” or “M” motions for even coverage.
Work in sections – Paint small areas at a time to prevent visible lines.
Apply two coats – For the best finish, apply two coats of paint, allowing the first coat to dry fully before the second.
Pro Tip: Don’t overload your brush or roller—thin, even layers look better than thick, uneven ones.
Step 6: Finishing Touches
Once the paint is dry, carefully remove painter’s tape at a 45-degree angle to avoid peeling. Touch up any missed spots with a small brush. Allow the walls to cure for at least 24 hours before moving furniture back.
Common Mistakes to Avoid When Painting Walls
Many beginners face frustration due to simple mistakes. Here’s what to watch out for:
Skipping prep work – Dirty or damaged walls will ruin the finish.
Using cheap brushes and rollers – They leave streaks and lint behind.
Not using primer when needed – Can cause uneven color or bleeding.
Painting in poor lighting – You may miss spots or end up with uneven coverage.
Rushing the process – Allow paint and primer to dry properly.
How to Maintain Painted Walls
After putting in the effort to paint your walls, it’s important to keep them looking fresh.
Dust regularly with a microfiber cloth.
Clean stains immediately with mild soap and water.
Avoid harsh cleaners that can strip paint.
Touch up small chips with leftover paint stored in airtight containers.
Cost of Painting Walls at Home
The cost depends on the size of the room and quality of paint, but on average:
Paint per gallon: $25–$50 (covers about 350–400 sq ft)
Supplies: $50–$100 (brushes, rollers, tape, drop cloths)
Total DIY cost: $100–$300 (vs. $500–$1,000+ for professionals)
Final Thoughts
Learning how to paint walls at home is a valuable DIY skill that saves money and gives you the freedom to personalize your space. By following the proper steps—prepping walls, choosing the right paint, applying coats carefully, and avoiding common mistakes—you can achieve a polished, professional look.
Painting your walls at home can be rewarding—but it’s not always easy. If you’re ready to tackle the project, follow the DIY steps above. But if you’d rather save time, avoid mistakes, and enjoy a flawless finish, let the experts at QualyPlus do the work for you.
Contact Us Today for a free quote.
FAQ
Find Out Answers Here
We provide a full range of residential and commercial painting services, including:
Interior painting (walls, ceilings, trim, doors, cabinets)
Exterior painting (siding, stucco, wood, brick, fences, decks)
Commercial painting for offices, apartments, and retail spaces
Specialty services such as drywall repair, wallpaper removal, and color consultation.
Start times depend on the scope and our current schedule. For small jobs, we may be able to start within a few days. For full renovations, we’ll work with you to set a timeline that works for everyone.
Yes! We provide 100% free, no-obligation quotes for all our services.
Yes. Our team is fully licensed and insured to ensure your home and our crew are protected on every job.
Yes. Cleanliness is a priority—we leave your home tidy and debris-free, just like we found it.
We transform homes and commercial spaces into personalized, inspiring environments by blending craftsmanship, professionalism, and customer-centric service.
- +1(647) 527-0401
- contact@qualyplus.ca
- We Service all across GTA and Simcoe County
Services
Home Renovations
Basement Finishing
Interior & Exterior Painting
Drywall Repairs
Interior & Exterior Upgrades
Recent news
- All Post